With the summer sun having long left us, and the golden cloak of autumn coming to an end, it is time to turn our attention to preparing our polytunnels for the colder months ahead.
With a little forethought and some elbow grease, your polytunnel can become a haven for hardy crops and a springboard for next year’s harvest. In this blog, we will take you through some of the key tasks that you should look to complete in these cold winter months, to position you as well as possible for the year ahead.
Harvest Late Season Crops
If you are a diverse grower, you may have crops growing late into the autumn months and even into early winter. Peppers, chillies, sprouts, purple sprouting broccoli, leeks and even some varieties of sweet potato may be harvest-ready between November and January. If you haven’t already, it is likely time to harvest these crops and bring in the fruits of your effort over the last 6 months.
This will likely leave your polytunnels now empty of crop, but still with a host of work to do. <H2> Remove Old Crops from the Soil
It is important as the winter draws in that you look to remove old crops from the soil as those seemingly tired plants hold the key to unlocking an even more thriving harvest the following year.
Select any plants you would like to overwinter, ensure these are all well labelled to avoid confusion when replanting, and all other plants should be cleared away.
Why Removing Old Crops Boosts Your Polytunnel Soil
Removing old crops and debris from the soil will help you to achieve a stronger harvest next year as it:
- Deters Disease – Diseased or pest-infested plant material can become a breeding ground for future outbreaks. Removing old crops and debris will help to prevent these unwanted guests from overwintering and wreaking havoc on your next crop.
- Nutrient Release – As aging crops decompose, they release valuable nutrients back into the soil. This organic matter is like a slow release fertiliser, feeding the soil microbiome and improving its overall health and fertility; clearing away dead crops and debris prevents the loss of such nutrients.
- Soil Aeration – Compacted soil is a foe to healthy root growth. Removing old root systems and tilling the soil gently improves aeration, allowing water, oxygen and other key elements to reach the deeper layers where your future crops will flourish.
Ensure you compost the organic matter that you clear away and move to the compost bin, so that you can facilitate decomposition, if you don’t already have a compost bin, now is a great time to establish one.
Clean your polytunnel inside and out
Now all plants and debris have been removed from the soil and benches cleared down, you can gain easy access to the polythene to clean it. We recommend using a soft brush to loosen any stubborn leaves and debris that may be stuck to the polythene.
The next step is to clean the outside of the polythene using a specialist cleaner like Polytex Pro, in order to gently remove any dirt, slime, traffic film and chemical residue that may be affecting your light transmission. Polytex Pro removes dirt and grime whilst protecting the oil-based polymers your Polythene is made from. Once the outside of your polytunnel is clean, then move onto the inside of your polytunnel. Disinfecting is as equally important as cleaning when you’re looking at the inside of your polytunnel as this disinfecting process will help you to manage the spread of disease spreading organisms. Hortisept Pro is a great, environmentally sensitive and polytunnel safe option that can also be used on any other hard surfaces in your polytunnel such as walkways, benches and staging.
Depending on the condition of your polythene you may also wish to use a product like Sun Clear if you find that the original anti-drip coating on your polythene has declined. Excess dripping and condensation build up impacts light transmission and also promotes fungal diseases such as Bortysis.
With the inside and outside of your polytunnel now clean and clear, you can switch your focus onto adding the upgrades you had planned.
Upgrading your polytunnel
As the saying goes, if you aren’t moving forwards, you are likely moving backwards, and the key to getting the strongest harvests from your polytunnel is to make sure that you are keeping everything fresh and performing at its optimum. With the polytunnel now clean and clear of plants, it is a great time to add any other accessories or upgrades. Drop down benching, irrigation, and side ventilation upgrades are the ones we are seeing the most of at the moment, as these can have incredible benefits to what your polytunnel can achieve come harvest time. But updating old staging or raised beds is also a great way of freshening up your polytunnel in this winter period. <H2> Add Nutrient to your polytunnel soil
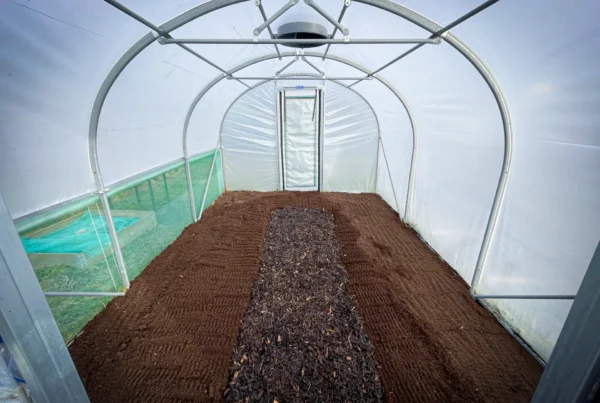
While decomposition of aged crops gives you a great nutritional boost to your polytunnel soil, it often isn’t enough to drive the best harvest. In order for your polytunnel to flourish year after year, it is important to keep adding goodness back into the soil. Adding well-rotted manure and turning over the soil is a great natural way to add nutrients. For smaller and hobby type grower, utilising home food wastes such as calcium-rich egg shells, potassium-rich banana peels, and nitrogen rich tea-leaves is also a great nutrient builder.
Weeds are one of the most common thieves of soil nutrients, so you should look to limit weed growth by covering the soil within your polytunnel with black and white film. This will also help your soil retain moisture and enable earlier crop planting due to the retained warmth.
Plan your crop rotations
With the cold weather here, the winter time is also the perfect time to plan your crop rotation. Repeat planting of some vegetables like peas and other legumes is not recommended so it is best to take time to consider what you will be planting next season and where, while the canvas is blank.
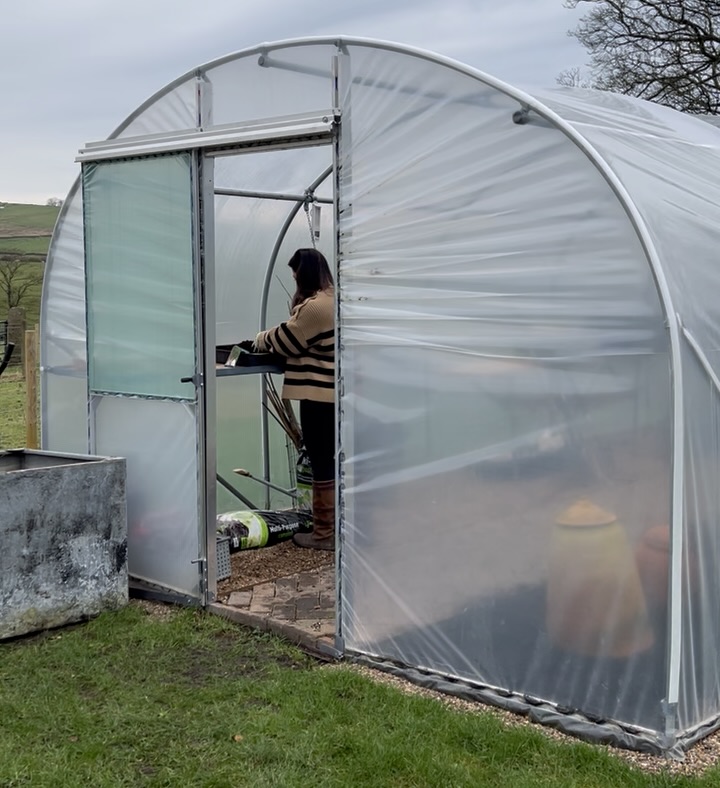
Make sure your polytunnel is secure
As the weather inevitably worsens over the winter months, it is important to ensure that your polytunnel is secure and proofed from all external factors.
How to secure a polytunnel for winter
Winter can be a perishing season for growers so making sure that your polytunnel is locked down and protected inside and out is key, here are some of the key things to look out for and consider:
- Complete Closure – Make sure that doors, drop bolts and any other stops on your polytunnel are closing correctly and fully, and not being hampered by weed or grass growth. Ventilation panels and screens should also be closed over the winter month to ensure extreme winds don’t damage your polytunnel.
- Check Hinges & Latches – While your moving parts of your polytunnel, such as, doors may be closing completely now, it is important to ensure that they are going to stand up to the tests of winter. If they are rusted or weakened, you should look to replace them. If they are in good condition you should ensure that they are lubricated to ensure smooth operation and prevent accidental openings during strong winds.
- Repair Everything – It is critical that you repair any small rips or tears in the polythene, as winter is when small polytunnel defects can grow and become bigger problems. Polythene repair tape is an easy and effective way to repair minor damage to your polythene, for anything more severe you should get your polytunnel inspected and assessed.
- Clear Outside – It is also best to try and avoid potential damage by moving any loose item around your polytunnel that could be blown around in high winds and cause damage to the polythene or structure.
By following these steps, you can transform your polytunnel into a cosy winter haven for your soil and any overwintering crops; without running the risk of disease, weed growth or physical damage. Remember, a little winter prep now will translate into a flourishing polytunnel and a head start on your spring gardening endeavours.