
Thinking about installing a polytunnel to extend your growing season? Whether you’re adding a tunnel to your garden, allotment, or smallholding, building a polytunnel might be easier than you think — especially with the right guidance.
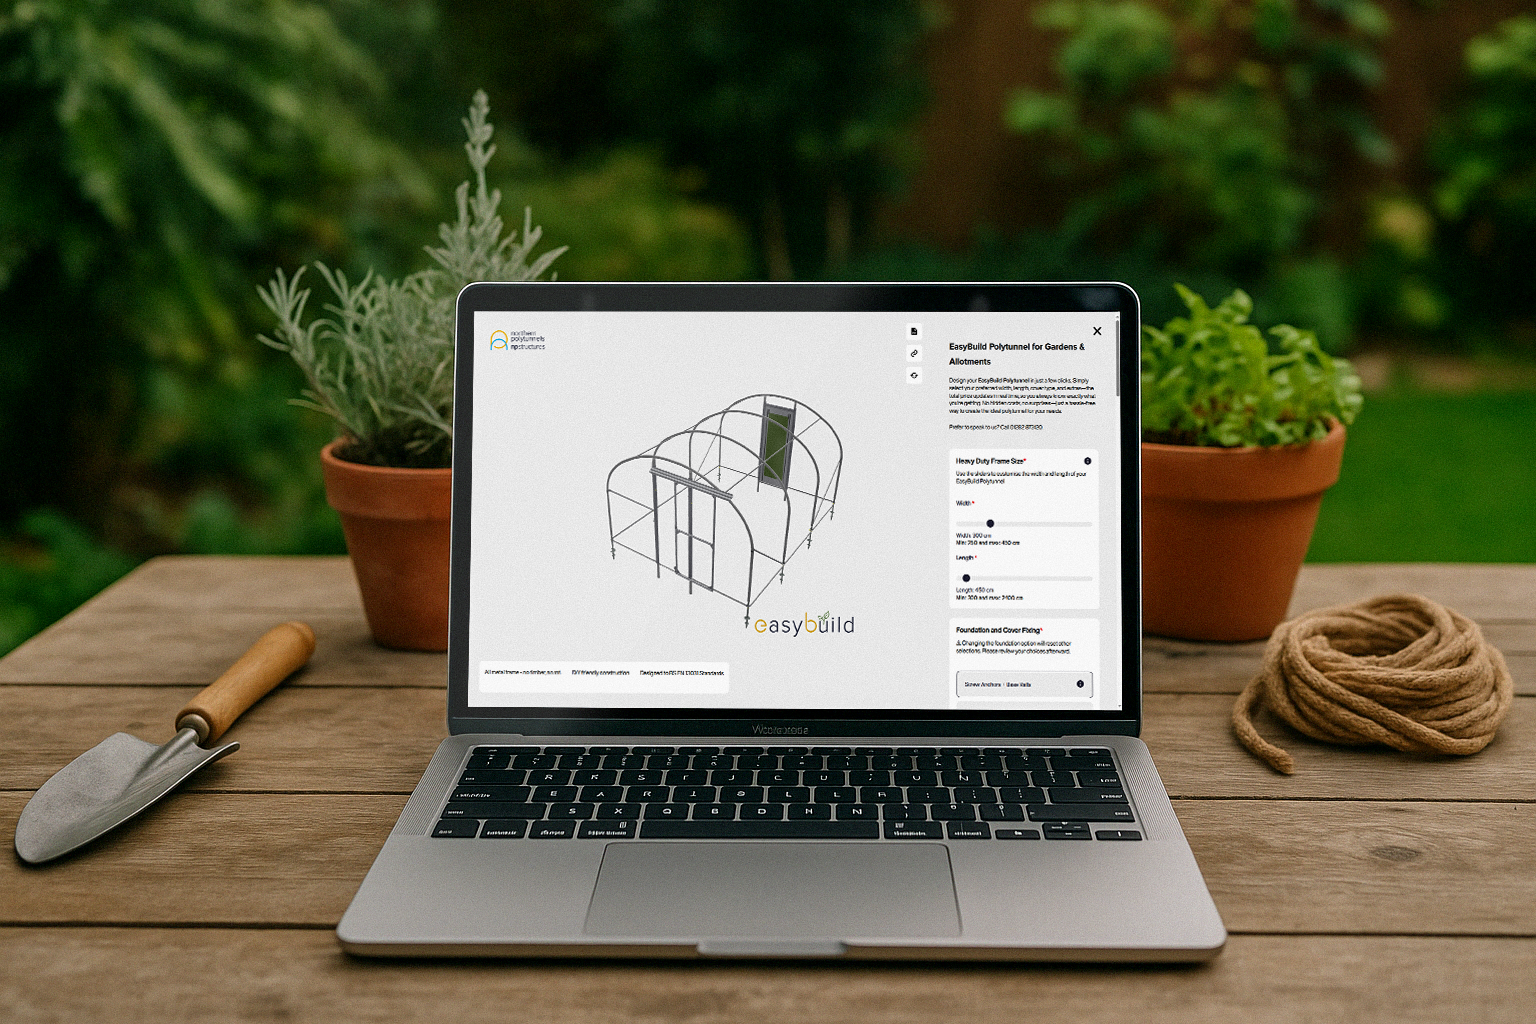
In this guide, we’ll show you how to build a polytunnel step-by-step, using our EasyBuild system. You’ll also find helpful tips for assembling, erecting, and covering your polytunnel for a strong, professional finish.
Watch the full construction video below:
📄 Need the full written instructions?
Download the EasyBuild Polytunnel Assembly Instructions (PDF)
Why Choose a Polytunnel?
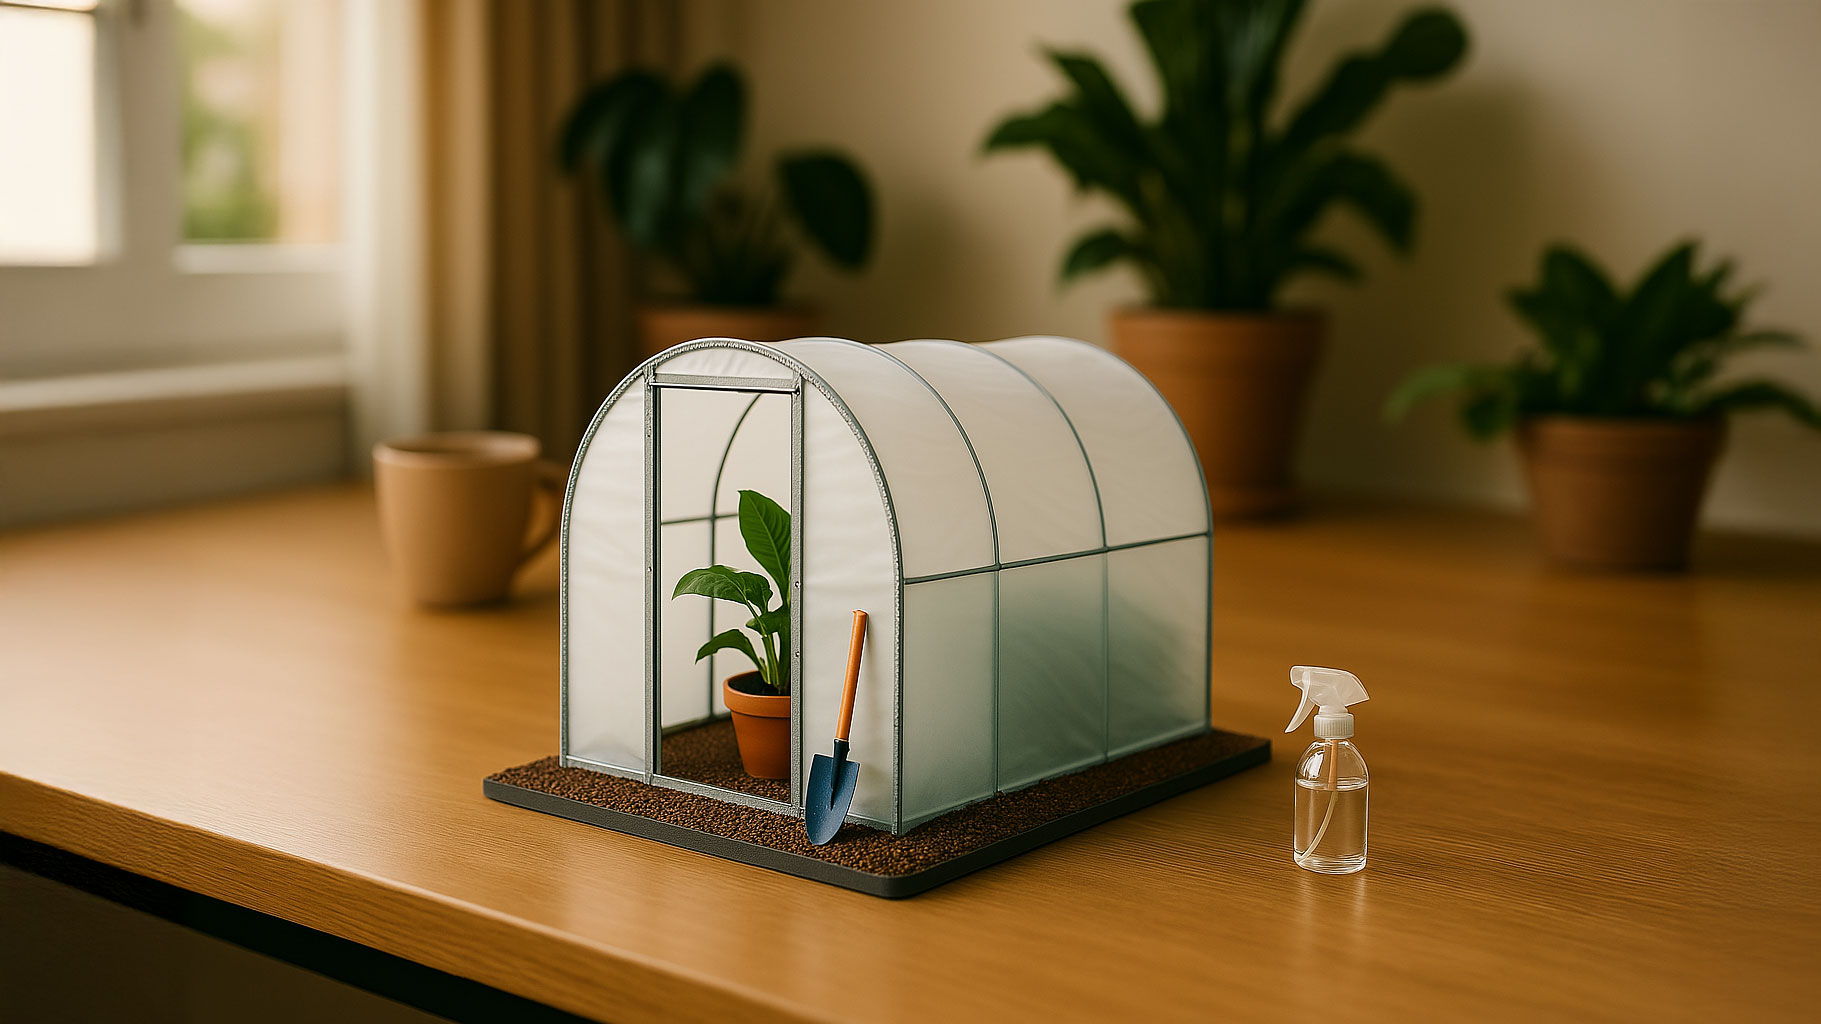
A polytunnel is one of the most cost-effective ways to protect crops, extend the growing season, and create a controlled environment for fruits, vegetables, and flowers. Compared to traditional greenhouses, polytunnels are more flexible, affordable, and quicker to set up.
What You’ll Need to Build Your Polytunnel
Before you start, make sure you have:
- Your full polytunnel kit (hoops, foundation tubes, polythene cover, doors, base rails, and fittings)
- Basic hand tools (spanner, screwdriver, mallet, spirit level, snips)
- Wiggle wire and base rails for easy fixing (included in our EasyBuild kits)
- Hot spot tape (to protect the polythene from sharp edges)
How to Build a Polytunnel: The Steps
Here’s a quick overview of the full process. For detailed visuals, follow along with our video above or refer to our instruction manual.
- Set Out the Foundations
Refer to the foundation layout in the instructions. Measure carefully and use a string line to make sure the foundation tubes are positioned and aligned correctly. - Fit the Foundation Tubes
Install screw anchors, base plates, or concrete ground tubes (depending on your chosen foundation type). Use a spirit level throughout to ensure a straight, even base — this will make the rest of the build much easier. - Install the Base Rails
If you’re fixing the polythene to base rails (not trenching), now is the time to fit them. Bolt the rails loosely into place, keeping everything level. - Assemble and Fit the Hoops
Connect the steel hoops on the ground, making sure the etched marks align at the top centre. Raise the hoops onto the foundations and loosely fix them in place. - Install the Ridge Bar and Corner Bracing
Fix the ridge bar along the top of the structure to tie all the hoops together. Install corner braces to strengthen and stabilise the frame. - Assemble the Door Frame
Build the door frame by connecting the top and bottom sections first. Tighten all bolts once the frame is square and aligned. - Install the Gable End Base Rails
Fit the gable end base rails to complete the tunnel frame. - Add Crop Bars
Fit crop bars across the inner hoops to add strength and provide a structure for hanging baskets or crop supports. - Fit Side Ventilation (if required)
Install vent brackets and vertical uprights now if your polytunnel includes side ventilation. - Apply Anti-Hot Spot Tape
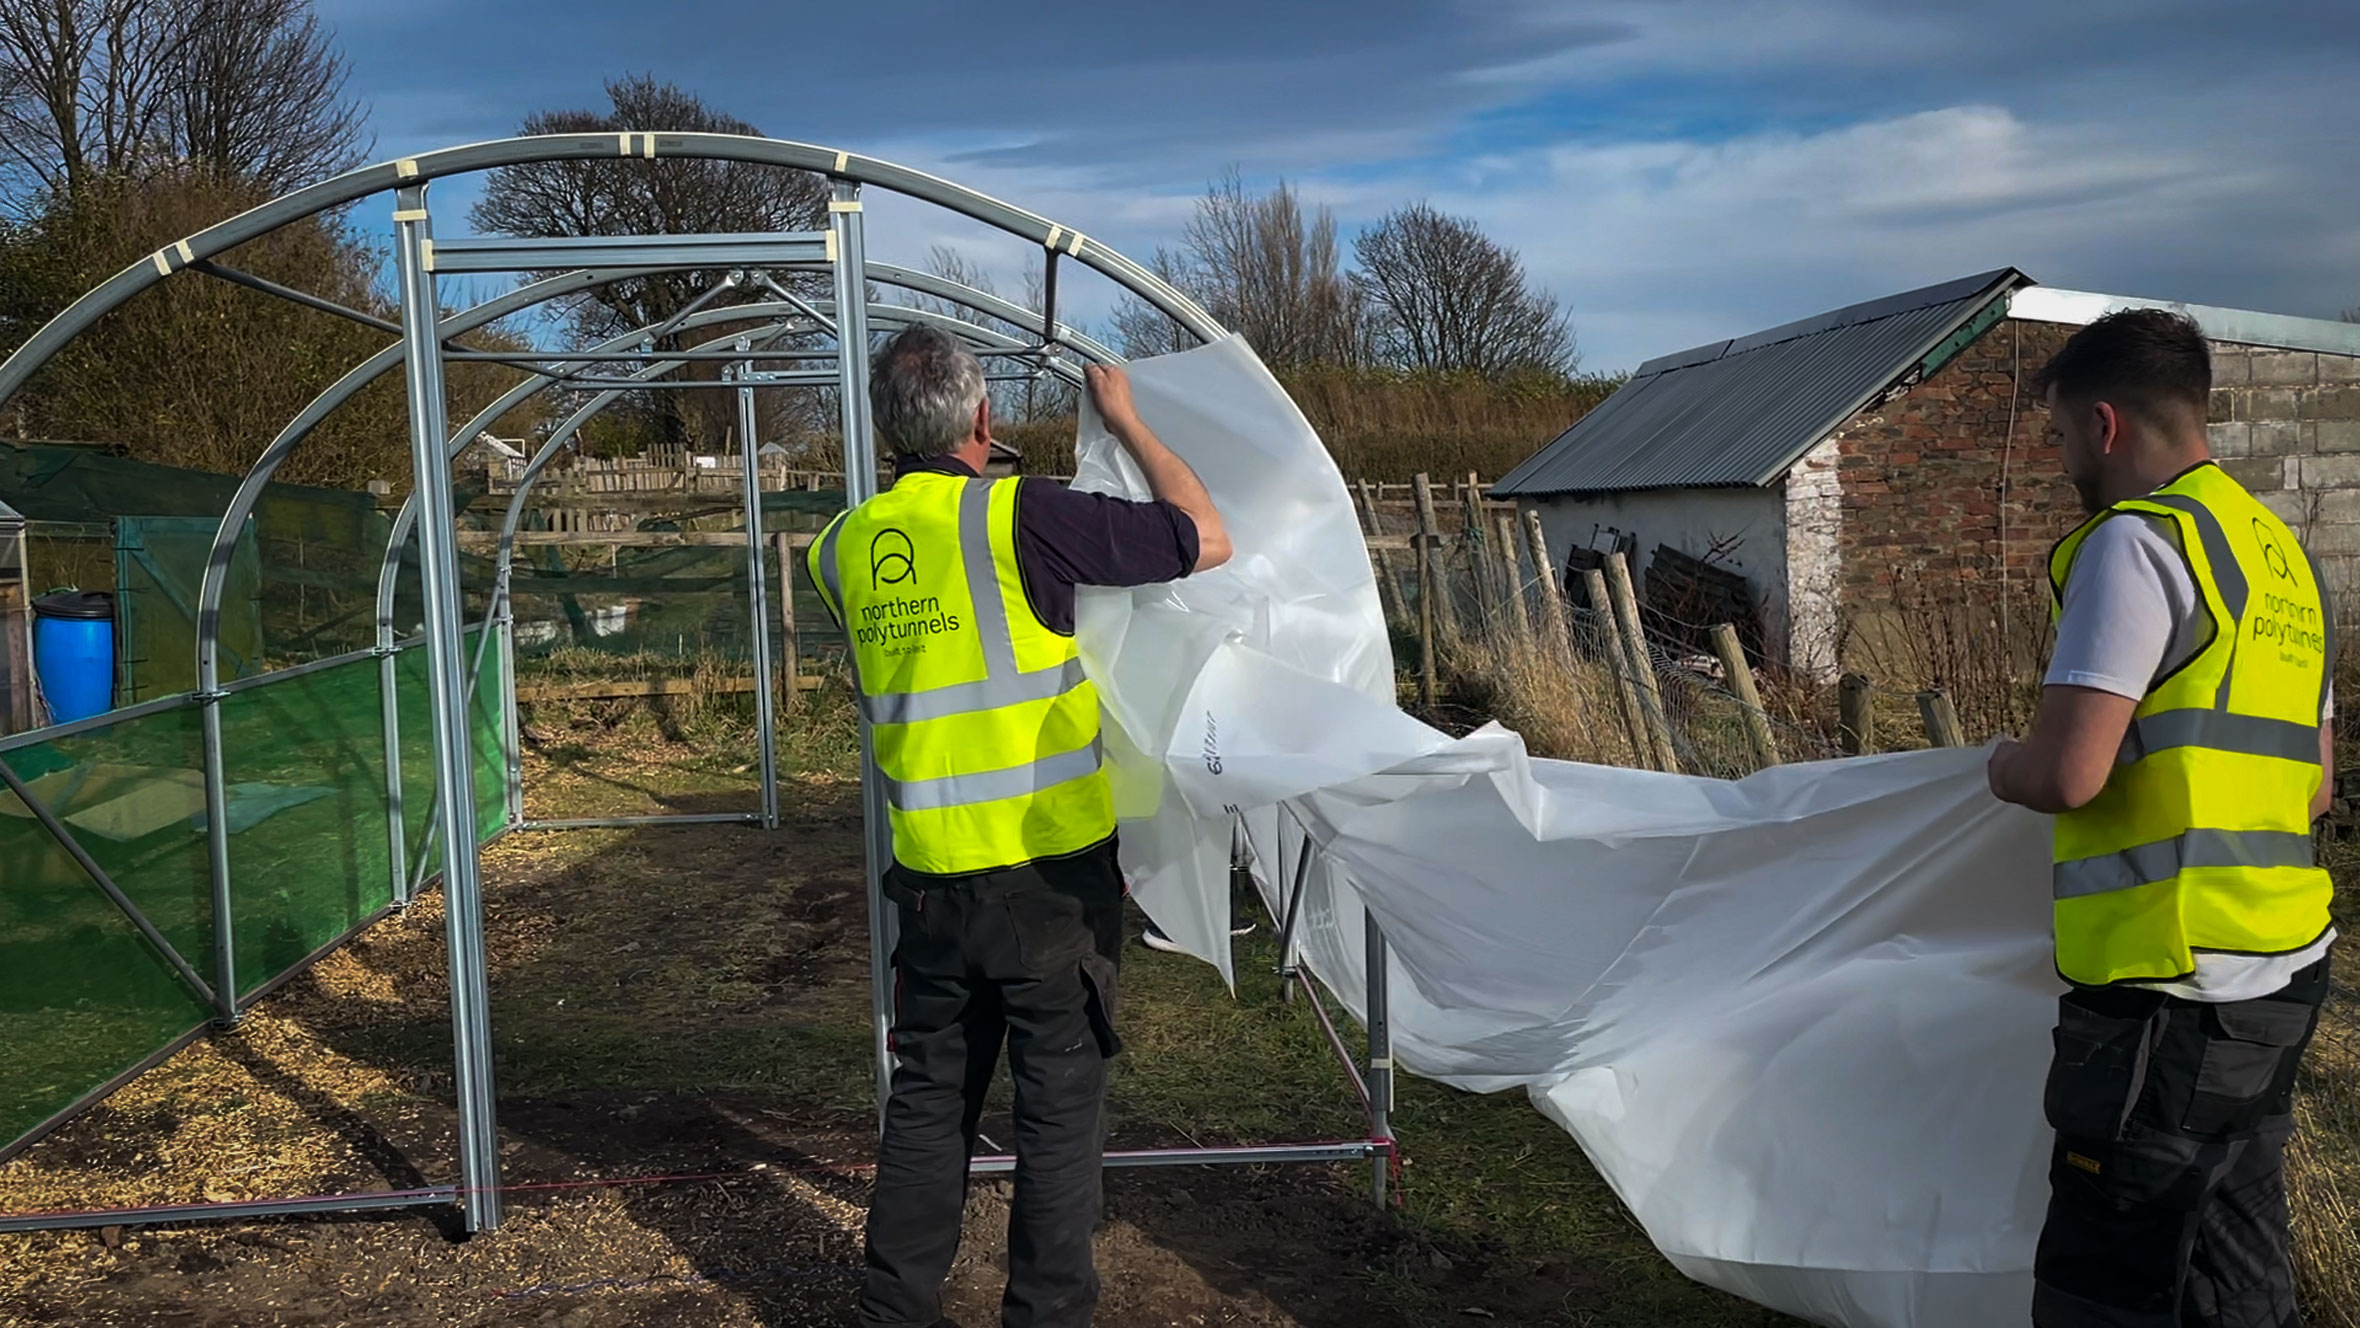
Apply anti-hot spot tape over the hoops and any sharp edges. This protects the polythene cover from rubbing and friction damage over time. - Cover the Polytunnel
Tip: Try to cover the tunnel on a calm day with wind speeds below 15mph for easier handling!
Now it’s time to cover the tunnel:- Pull the poly tunnel plastic over the frame.
- Make sure the writing on the polythene faces inside.
- Secure the cover with wiggle wire
- Starting at the door lintels,
- Then work down the sides.
- Then secure the door frames and gable end base rails
- Install the Side Vent Roller (if applicable)
Attach the roller mechanism so you can easily adjust airflow inside your polytunnel. - Build the Sliding Door
- Insert the brush strip and roller carriages.
- Assemble the frame using bolts and nuts inside the T-slots.
- Fix middle brackets and sections first, then attach the top and bottom sections.
- Tighten all bolts securely and make sure the door is square.
- Cover the door frame with polythene, neatly tucking in rough edges and using a second layer of wiggle wire for a clean finish.
- Fit the Door to the Runner
Lift the completed sliding door onto the runner track and adjust the roller carriages for smooth sliding action. - Final Touches
- Tighten all bolts.
- Check the structure is square and secure.
- Final Tensioning
The EasyBuild system allows you to tension the cover by raising the hoops slightly. This gives a tight, professional finish without the need for complex tools or equipment.
Congratulations, your EasyBuild polytunnel is complete and ready to use! 🌱
Download the Full Instructions
For full diagrams, measurements, and additional tips, download our EasyBuild instructions:
👉 Download PDF
Tips for a Successful Polytunnel Build
- Choose a calm day: Avoid covering your tunnel in high winds.
- Take your time: A neat cover now will last longer and perform better.
- Use the right fixings: Wiggle wire is strong, secure, and easy to adjust if needed.
- Check your frame: Before covering, make sure everything is properly aligned.
Need Help Building Your Polytunnel?
If you need more guidance, our team is always here to help. Contact us with any questions, or explore our EasyBuild Polytunnels designed for simple, stress-free installation.
Related: