Full Guide to Fitting Polytunnel Plastic
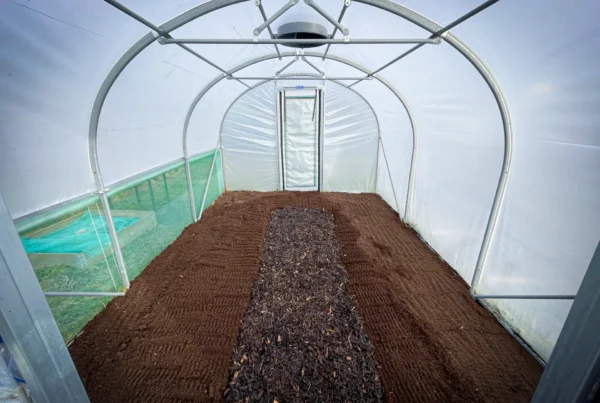
Covering a polytunnel is one of the most important parts of the polytunnel build process. Done properly, it ensures your structure is weather-tight, protected, and ready for growing. In this guide, we’ll show you exactly how to cover a polytunnel using polytunnel plastic and wiggle wire with our EasyBuild system.
Whether you’re installing a new tunnel or fitting a polytunnel replacement cover, these tips will help you get a neat, long-lasting finish.
Watch the Video:
Step-by-Step Instructions for Covering a Polytunnel
- Check the orientation of your cover Make sure the polythene sheet is the right way round. The writing should face inward, ensuring the anti-drip coating is effective.
- Pull the polythene over the tunnel Gently pull the cover from one side to the other, using the folds in the sheet to align it lengthways. Apply hot spot tape to any sharp edges to avoid tearing.
- Choose a calm day Wind makes the job harder. Ideally, cover your tunnel in winds below 15mph. A calm, dry day is best.
- Temporarily secure with wiggle wire A handy tip: use a short piece of wiggle wire to temporarily hold the sheet in place while you work. It prevents flapping and helps you maintain alignment.
- Fix the sheet at the lintels Start by securing the cover at the door lintels. Pull it tight and fix it in place. You can make a small incision in the doorway to grip and tension the sheet.
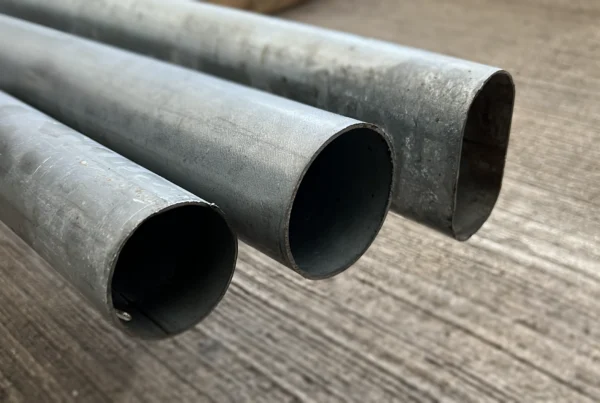
- Fit the sides with wiggle wire We’re often asked why we use wiggle wire instead of timber battens. Wiggle wire is easier to fit by hand, requires fewer tools, and won’t rot or degrade over time. It holds the poly tunnel plastic securely and can be removed and refitted if needed.
- Work down the side vents Continue fixing the cover down the side vent verticals. Keep the tension consistent to avoid sagging.
- Fix the opposite side On sides without a vent, fix the sheet directly to the base rail using wiggle wire, keeping it taut as you go.
- Finish around the door frames Pleat the cover neatly into the door frame and secure it with wiggle wire. Take your time here for a tidy result.
- Tighten the gable ends Push the polythene outwards from inside the tunnel to get it tight around the gable ends. Then, fix the cover to the door posts and finish by securing it to the gable end base rail.
- Trim and tidy Trim away any excess cover from around the door frame. Later, you can fold in the rough edge and apply a second layer of wiggle wire for a clean, professional finish.
- Tension the cover The EasyBuild system includes a built-in tensioning method. Raise the hoops and fix them in place with a bolt. If you have side vents, temporarily loosen the vent rail one-by-one to allow the hoop to move freely.
Download the Instructions
Need a printable version? Download the full instructions PDF here
Need a Replacement Cover?
Looking to replace an old sheet? Browse our full range of polytunnel replacement cover options northernpolytunnels.co.uk/polytunnel-covers/
Covering a polytunnel doesn’t have to be difficult. With the right method and a little patience, you’ll get a strong, long-lasting result that protects your crops and extends your growing season.