Thinking of investing in a polytunnel? Great choice! Polytunnels are a fantastic way to extend your growing season, protect crops from the elements, and create a controlled growing environment all year round. But with so many options available, how do you know which tunnel is right for you?
Here are the five most important things to consider when choosing a polytunnel – to help you make the right investment for your space, climate, and growing goals.
What Size Polytunnel Do You Need?
Polytunnels come in a wide range of sizes – from compact 2.5m x 3m models for small gardens and allotments to large 5m x 20m structures for commercial growers.
Before you buy, think about:
- How much growing space you’ll realistically need
- What crops or plants you’ll grow
- Access space around the tunnel
- Future expansion (you might want more room than you think!)
At Northern Polytunnels, we offer a broad selection of tunnel sizes to suit gardens, allotments, and commercial growing sites.
How Strong are the Hoops?

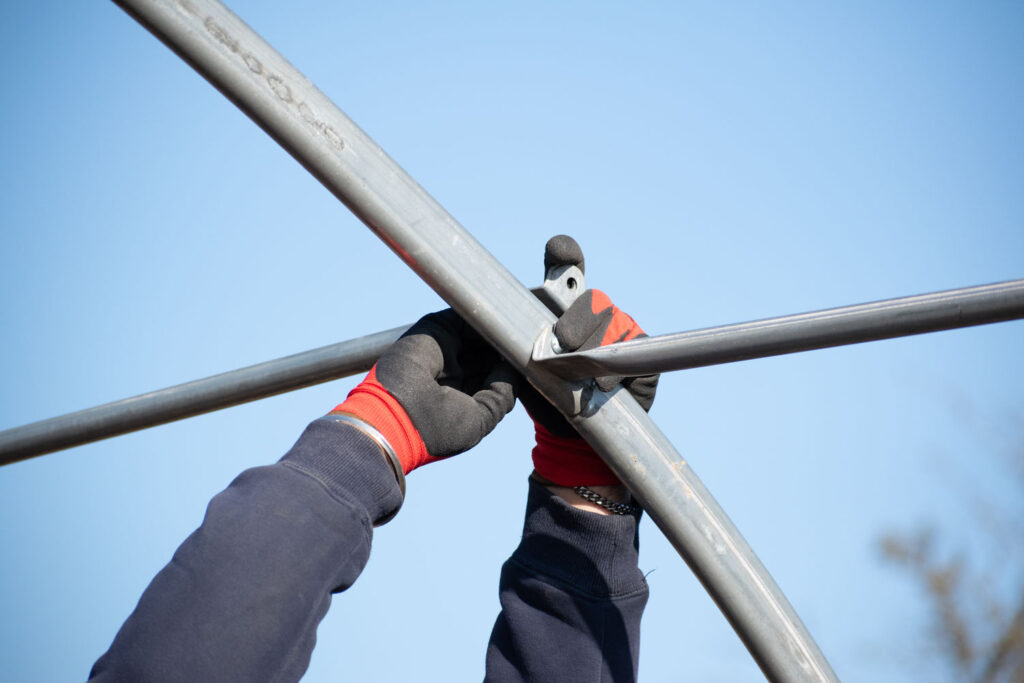
The hoops are the backbone of your polytunnel – and strength matters, especially in windy or exposed locations.
Here’s what to look for.
Tube size
The EasyBuild Polytunnel uses our all-new 4-piece hoops made from 50 x 25mm high-tensile Flat Sided Oval (FSO) tube. This new oval profile offers a 150% strength increase compared to our previous 32mm round tube, making EasyBuild one of the strongest domestic tunnels on the market.
Many tunnels on the market still use 25mm round tubing, which can struggle in poor weather and often needs additional supports.
Hoop spacing
Tighter spacing (e.g. 1.5m apart) increases strength and is better for exposed areas. More sheltered sites can sometimes get away with wider spacing. EasyBuild is designed with 1.5m spacing.
Choose a frame that’s built to withstand your local conditions – not just the average.
What’s the Best Foundation Option for Your Site?
Making sure your polytunnel is securely fixed to the ground is paramount for a secure and safe polytunnel.
Depending on the ground your polytunnel is sitting on, here are the options:
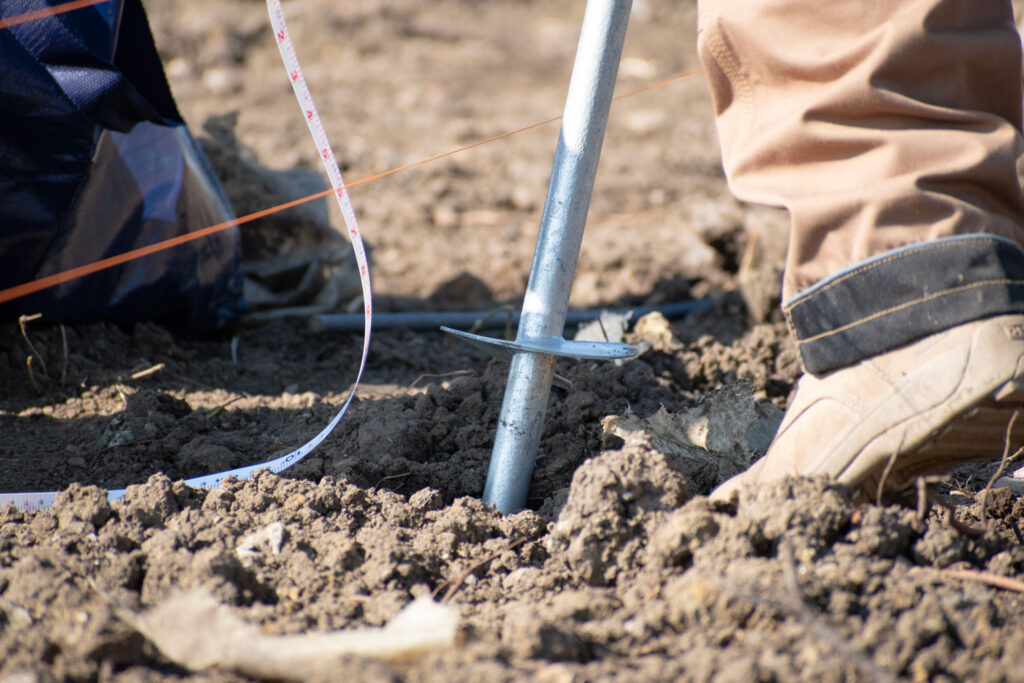
Screw Anchor
Suitable with most soil types, especially clay soils., like a corkscrew, the screw anchor simply screws into the ground.
Not suitable for previously disturbed ground or ground with lots of rocks.
Come as standard with the EasyBuild.
Anchor Plate
The foundation tubes have a metal plate fastened at the base which sits in the ground. For these, you will need to dig a hole (35cm square x 50cm deep) for each tube. You then backfill the holes with the earth. These are suitable when screw anchors can’t be used (e.g stoney ground) and where concreting isn’t an option.
Base Plate
If you’re building on a concrete slab, this is the foundation you need, drill into the concrete and secure it with the included Anchor Bolts
Standard Concrete (traditional concreting method)
The recognised method when using traditional foundation tubes is to dig a hole (35cm square x 50cm deep) and set the foundation tubes in concrete. Considered to be one of the most secure methods.
Don’t Overlook the Quality of the Polythene Cover
Not all covers are created equal. Your polytunnel’s cover plays a huge role in crop performance, light diffusion, and overall tunnel lifespan.
Look for polythene that offers:
- UV stability
- Anti-drip coating
- Good light transmission
- Tear resistance
- Long-term durability
The two main choices are clear or diffused polythene.
Benefits of clear polythene
- Improves the quantity of light to encourage photosynthesis.
- Encourages early crop yields and crop strength.
- Increases daytime temperatures.
- 5-year incremental guarantee, although a 12-14 year lifespan is not uncommon.
Benefits of diffused polythene
- Reduces the stressful effect of direct sunlight on plants.
- Reduces the risk of leaf burn and crop deformation.
- Encourages a more uniform ripening and colouring of the fruit as less shadowing is cast.
- Note: designed for use in very luminescent areas of the UK.
- 5-year incremental guarantee, although a 12-14 year lifespan is not uncommon.
How Is the Polythene Attached?
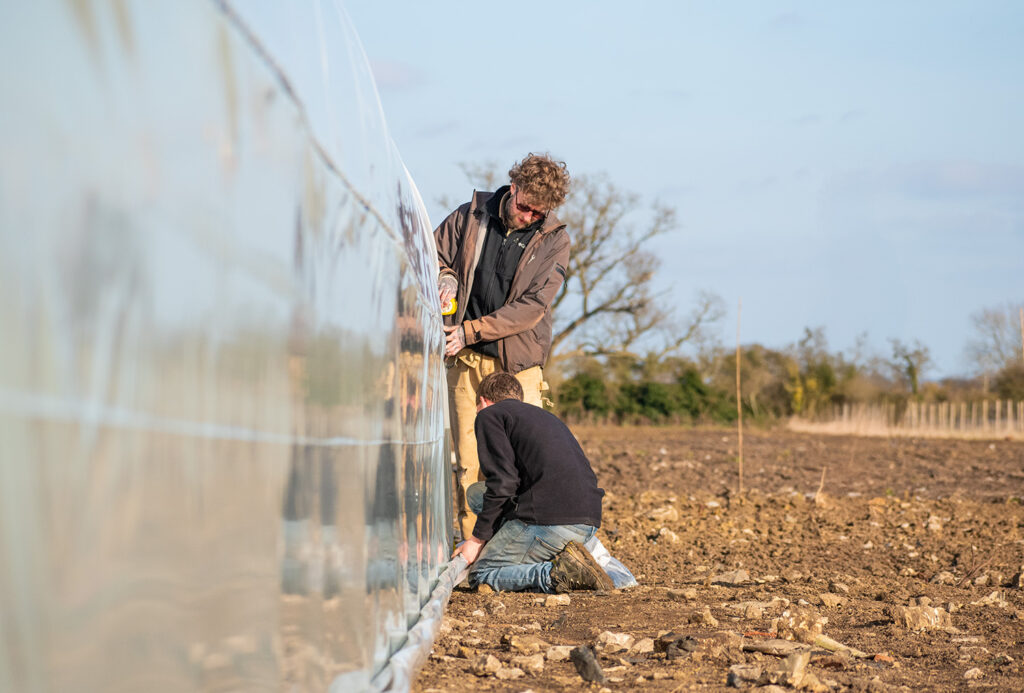
How your cover is fixed to the frame makes a difference. There are two main methods:
Trenching
The traditional way – bury the edges of the cover in soil. It’s simple and pretty effective but it’s quite labour intensive and it’s hard to refit a cover this way. To do this you’ll dig a 1.5ft – 2ft deep trench around the edge of your polytunnel and frame and then burying the polythene into the trench to secure the polythene in place.
Wooden base rails
Some polytunnels on the market use timber base rails, securing the polythene with wooden battens to create an “S-lock” system. While this method is cost-effective upfront, it comes with long-term downsides.
Over time, timber is prone to weathering, warping, and cracking – especially in damp growing environments. As the wood degrades, it loses its grip on the cover and compromises the overall structure. Replacing rotted timber isn’t just inconvenient – it often means replacing most, if not all, of the battens.
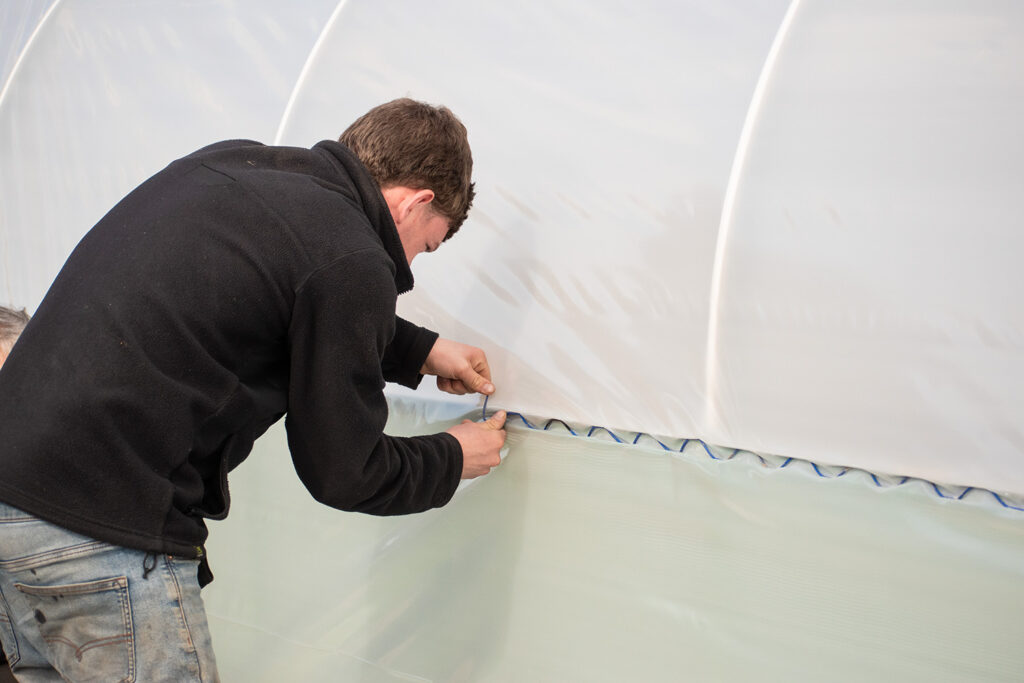
Steel base rails
These offer a quicker and more secure method of securing the polythene into the steel base rail using our wiggle wire system.
You may be asking what’s the difference between wood and steel base rails?
Simply put – wood will rot, how quickly and how bad depends on how good the drainage is within your growing space. Aluminium costs slightly more but will last a lifetime.
Ready to Build Your Polytunnel?
By taking these five key considerations into account, you’ll be well on your way to choosing the right polytunnel for your growing needs. Whether you’re a home gardener or a commercial grower, Northern Polytunnels has the strength, quality, and flexibility to support your success.
👉 Explore our full range of polytunnels now:
https://northernpolytunnels.co.uk