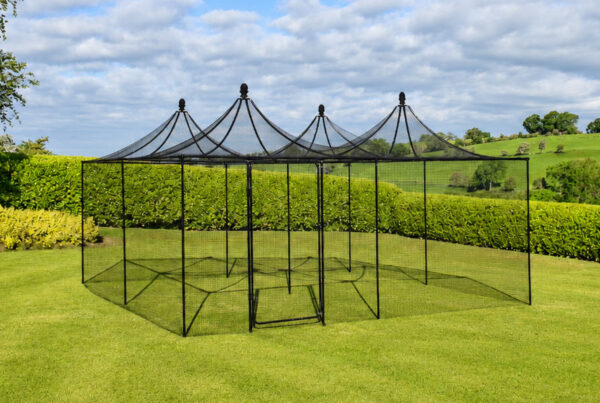
You’ve decided that this year is going to be the year where you make healthy lifestyle decisions. You are aiming to spend more time enjoying your outdoor space, eating more healthily and with an emphasis on organic and sustainability too. You might be thinking that roads lead to buying a polytunnel; which is great because a polytunnel is more than just a storage investment, it is a lifestyle purchase and something that will help you find that work-life balance or that feeling of purpose when you are at home.
But at the same time, buying a polytunnel (particularly if it’s your first foray) can be daunting, and may raise as many questions as it answers. Here, we are going to try and answer some of the questions you may have, and pass on a little wisdom off the back of our decades of experience.
What size Polytunnel do I need?
The size of the polytunnel that you need really depends on what you are planning to grow. If you are looking to grow enough fresh produce to feed your family, then you need to plan to have that depth of space in your polytunnel.
Our most popular sizes for a novice hobbyist are the 10 x 15” or the 12 x 20”; which, if you prefer the modern metric system, works to be 3m x 4.5m or 3.6m x 6.1m. Both of these sizes provide you with a reasonable amount of space for plants and accessories such as raised beds, benches and staging.
One thing to consider is that polytunnel costs per square foot decrease significantly as the size of your polytunnel increases, so it is always worth stretching your budget slightly if you have the means and the space to do so.
As veteran growers ourselves we know all too well how easy it is to get carried away with the seed catalogues and end up with a plethora of young plants without the necessary space to mature and grow them in.
Do I need planning permission for my Polytunnel?
Generally speaking, you do not require planning permission for garden structures, such as sheds, greenhouses and polytunnels unless you live in an area where permissions are more heavily managed such as in a National Park, Conservation Area or the like.
That said, an allotment tunnel should not be more than 3 metres high (or more than 4.2 metres at the ridge), or no greater than 18 metres long, or 4.5 metres at the base. Any larger than these measurements and you start to drift into the considerations of a commercial structure which could bring planning permission issues.
Can I build a Polytunnel on a slope?
If you can, we would always recommend levelling the ground before installing a polytunnel, as although levelling ground is hard work, assembling a polytunnel and utilising it after the build can be even more difficult if you are on an incline.
It is worth noting that an incline of less than 6 inches from end to end can quite easily be accounted for by adjusting the foundation tubes in your polytunnel.
That being said, if levelling the ground isn’t feasible, then a polytunnel isn’t out of the question for those with a slope; however it is best practice to slope down the length of the tunnel as opposed to across the width as this can with with smoother operation on doors.
What is the best base for a Polytunnel?
Our polytunnels can be placed on a grassed area or attached to solid ground like concrete. If you are planning on fixing your polytunnel to a grassed area or bare ground do remember that if it has been heavily cultivated it will lack the strength to hold in the foundations.
If you’re positioning your polytunnel on recently cultivated ground, we would recommend concreting the foundations in to ensure your polytunnel has a strong and sturdy base.
If you are constructing your polytunnel on undisturbed ground using our screw anchor foundation method, there is little to no ground preparation required.
Learn more about fixing your polytunnel here
How do I maximise light exposure in my Polytunnel?
Getting the orientation of your polytunnel correct is extremely difficult, the important thing as a hobbyist is to ensure that you don’t get too hung up on hitting perfection. Some plants want and require more sunlight than others so it is less about the position of your polytunnel and more about understanding what your plants and crops need most to grow.
South-facing orientations generally receive the most sunlight here in the UK, but once you have eliminated or minimised the obvious obstructions such as overhanging trees you need to let your polytunnel do the rest.
If you believe that your polytunnel positioning isn’t enabling you to truly harness the sun’s power then you should look at optimising your existing light distribution through light-diffusing materials such as diffused polythene. Diffused Polythene helps to scatter the light enabling it to hit the plant from all directions, not just the direction of the sun.
Additionally if you are looking to generate more light in your polytunnel, you could achieve this through artificial means, such as installing LED grow lights which can help you to propagate plant and crop types that require lots of sun.
Additionally if you are looking to generate more light in your polytunnel, you could achieve this through artificial means, such as installing LED grow lights which can help you to propagate plant and crop types that require lots of sun.
How to layout my Polytunnel?
Now you’ve decided that a polytunnel is for you and your lifestyle goals, you’ve bought the right size and got it built and anchored to the floor; it is time to jump into what is one of the most exciting parts of the journey. Setting out the internal configuration.
This is the moment where you can use your imagination and bring the vision in your mind to life.
Clearing a path – You are going to need a good level of access to your beds, and you may even want that access to extend to allow for a wheelbarrow to pass. Whether you build your path out of gravel, wood chip, or concrete it doesn’t matter, as long as you can access all areas of your polytunnel with relative ease.
Potting area – The best polytunnel configurations that we’ve seen have an area that is dedicated to potting plants. Our recommendation would be a Drop-Down Bench that easily attaches to the polytunnel hoops and provides plenty of room for compost, a watering can, tools and seed. This space saver can be lifted out of the way when not required too.
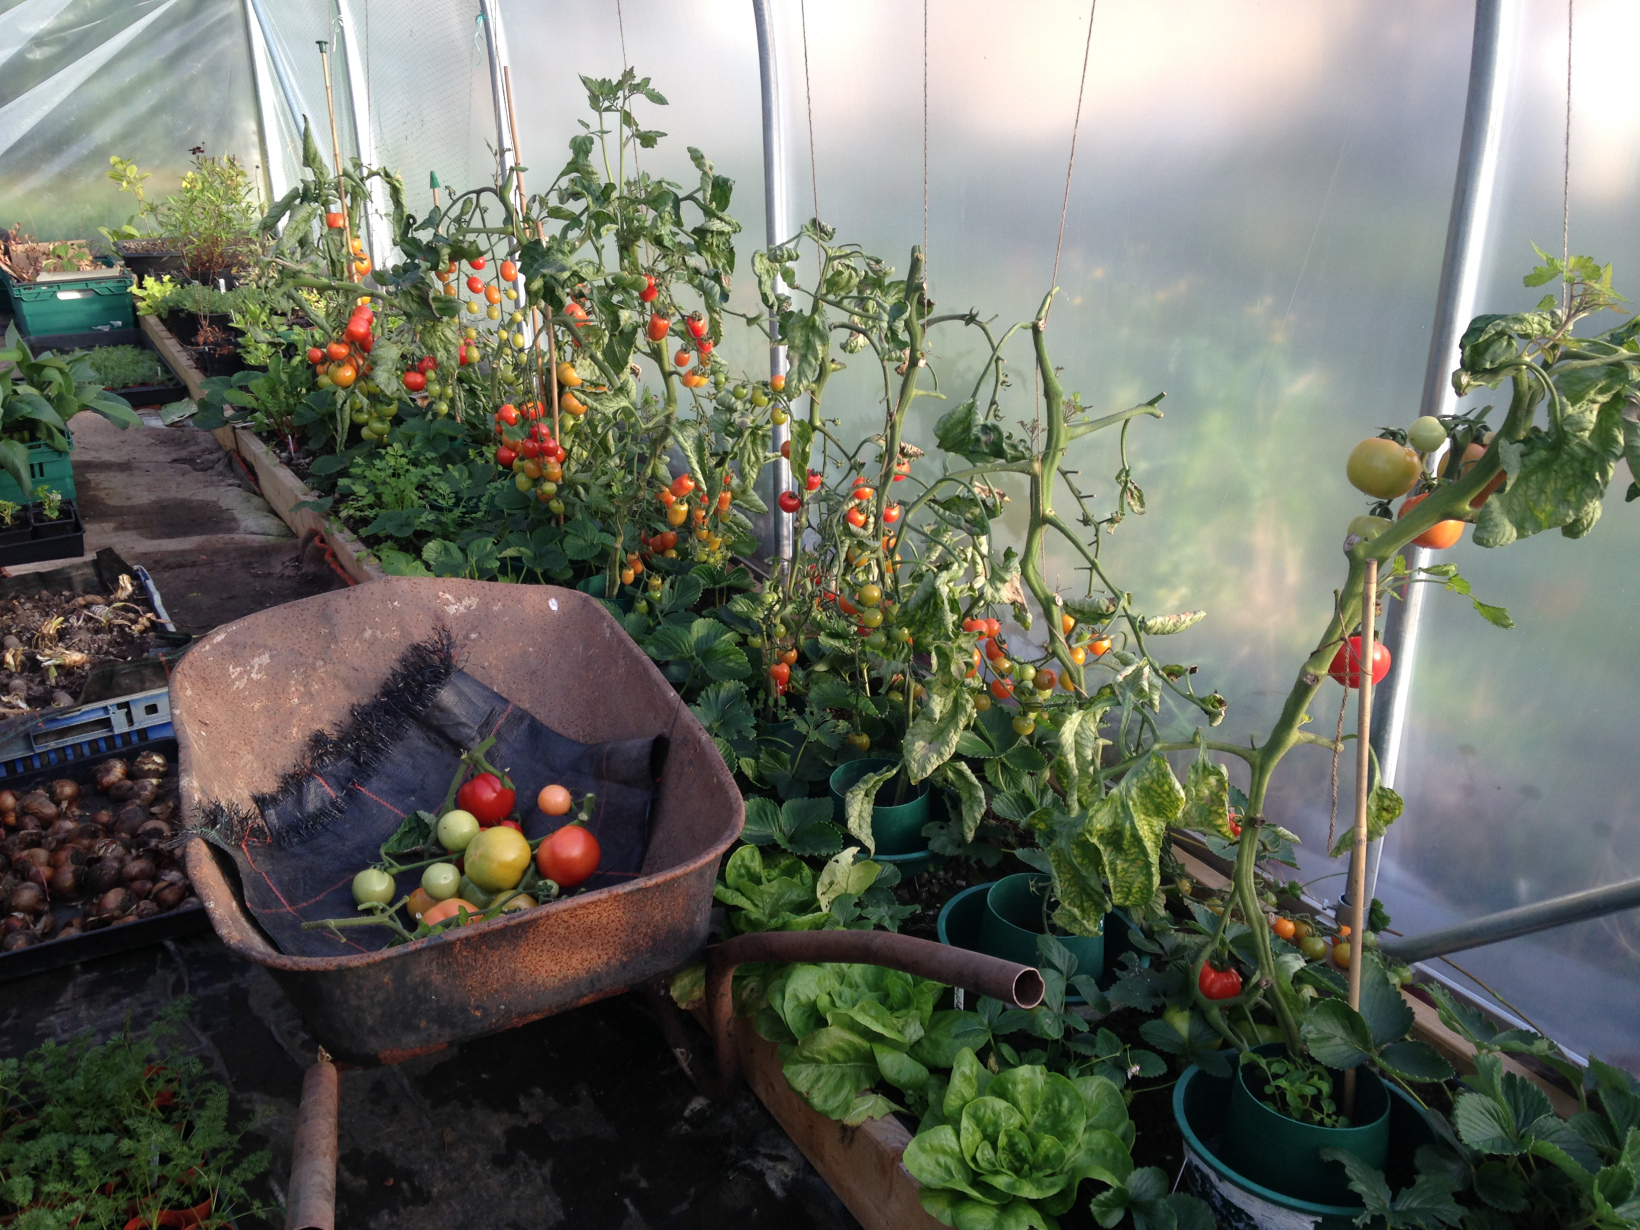
Raised beds & growing areas – If your soil is of poor quality, you have a low level of soil depth or limited in mobility then it may be a good idea to consider raised beds in your polytunnel. We have a number of raised bed options suitable for a domestic polytunnel, including heavy duty options if you require something with more strength.
Don’t overlook storage – Spades, rakes supports, canes, watering cans and stools all make for wonderful trip-hazards; and the last thing you want to do is injure yourself while you are enjoying the peace and tranquillity of your polytunnel. Make sure you consider where you will store your implements, whether this be a storage box inside your polytunnel or whether your space is of too much of a premium and this will be outside.
We hope that this buyer’s guide has helped you to decide if a polytunnel is for you. As growing enthusiasts ourselves, we believe it is one of the best ways to be productively active while saving a little money especially if you are growing to eat from seed; but if you do have any questions at all, give us a call and one of our helpful team of experts will be more than happy to guide you.